Introduction
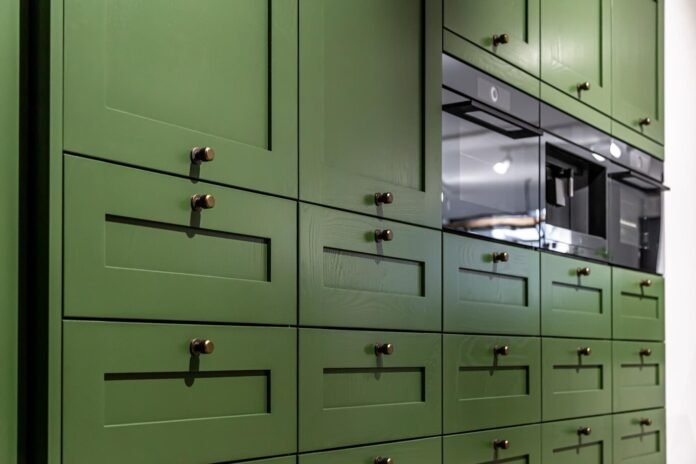
Giving your kitchen cupboard paint a fresh coat of paint is one of the most cost-effective ways to transform your kitchen’s appearance. Whether you’re looking to modernize outdated cabinets, change the color scheme, or simply refresh worn-out surfaces, painting your kitchen cupboards can make a huge difference. However, the process requires careful preparation, the right materials, and proper techniques to ensure a smooth, long-lasting finish. In this guide, we’ll explore everything you need to know—from choosing the best paint type to step-by-step application tips—so you can achieve professional-looking results without the hefty price tag.
1. Choosing the Right Paint for Kitchen Cupboards
Selecting the right paint is crucial for durability and aesthetics. Kitchen cupboard paint endure frequent touching, grease, and moisture, so you need a paint that can withstand daily wear. Water-based acrylic paints, such as semi-gloss or satin finishes, are popular choices because they dry quickly, have low odor, and resist yellowing over time. Alternatively, oil-based paints provide a harder, more durable finish but require longer drying times and proper ventilation. Chalk paint is another trendy option for a matte, vintage look, though it usually requires a protective topcoat. Consider factors like ease of cleaning, sheen level, and compatibility with existing surfaces before making your final decision.
2. Essential Tools and Materials for Painting Cabinets
Before starting your project, gather all necessary supplies to ensure a smooth workflow. You’ll need high-quality brushes and rollers (foam rollers work best for a smooth finish), sandpaper (120-220 grit for smoothing surfaces), a degreaser or trisodium phosphate (TSP) cleaner to remove grease, primer (especially important for laminate or previously painted surfaces), and painter’s tape for edges. A paint sprayer can provide a flawless, professional finish but requires practice to avoid drips. Additionally, having screwdrivers to remove handles and hinges, drop cloths to protect countertops, and good lighting will make the process much easier. Investing in the right tools upfront will save time and frustration later.
3. Step-by-Step Preparation for a Flawless Finish
Proper preparation is the key to a long-lasting paint job. Begin by removing all cabinet doors, drawers, and hardware, labeling them for easy reassembly. Clean every surface thoroughly with a degreaser to eliminate built-up grime, which can prevent paint from adhering properly. Next, lightly sand all surfaces to create a rough texture for better paint grip, then wipe away dust with a tack cloth. Apply a high-quality primer, especially if you’re painting over dark colors, laminate, or bare wood. Allow sufficient drying time between each step—rushing this process can lead to peeling or uneven coverage later. Taking these extra steps ensures your paint adheres well and looks smooth for years to come.
4. Painting Techniques for a Professional Look
The application method significantly impacts the final result. If using a brush, apply paint in thin, even strokes following the wood grain to minimize brush marks. For rollers, use a high-density foam roller to avoid lint and achieve a smooth finish. Spray painting delivers the most professional look but requires careful masking of surrounding areas to prevent overspray. Regardless of the method, apply multiple thin coats rather than one thick layer to prevent drips and ensure even coverage. Lightly sand between coats with fine-grit sandpaper (320 grit) for an ultra-smooth finish. Allow each coat to dry completely before adding the next, and avoid rushing the process—patience is key for a flawless outcome.
5. Drying, Sealing, and Reassembling Cabinets
After the final coat, allow ample drying time—at least 24-48 hours—before handling the cabinets to prevent smudges or dents. If using chalk or milk paint, apply a clear polyurethane or wax topcoat for added protection against moisture and scratches. Once fully cured, reattach the hardware, hinges, and doors carefully. Consider upgrading knobs and handles for a fresh, modern touch. Finally, step back and admire your transformed kitchen! With proper care, your newly painted cabinets can last for years, giving your kitchen a stylish and updated look without a full renovation.
Conclusion
Painting kitchen cupboard paint is a rewarding DIY project that can dramatically enhance your kitchen’s appearance without breaking the bank. By choosing the right paint, preparing surfaces meticulously, and applying paint with care, you can achieve a professional-quality finish that revitalizes your space. Whether you opt for a classic white, a bold color, or a trendy two-tone design, a fresh coat of paint can make your kitchen feel brand new. Follow these steps, take your time, and enjoy the stunning results of your hard work!


